Let’s see how we can easily set up the best environment for implementing machine learning with minimum space and not losing efficiency.
In this article, I will try to talk to you through the setup that I use to code in Python for machine learning purposes.
I use a Windows machine for my coding. So as of now, I can only tell you the environment setup for the Windows machine.
If you are using Linux or Mac, I honestly don’t know how effective this tutorial will be for you. Nevertheless, I think you can use the same setup in those types of machines as well.
First of all, you need to install Python. You can click here and download Python and install it on your machine. After that, you need to download one more software, either anaconda or miniconda.
Anaconda for machine learning
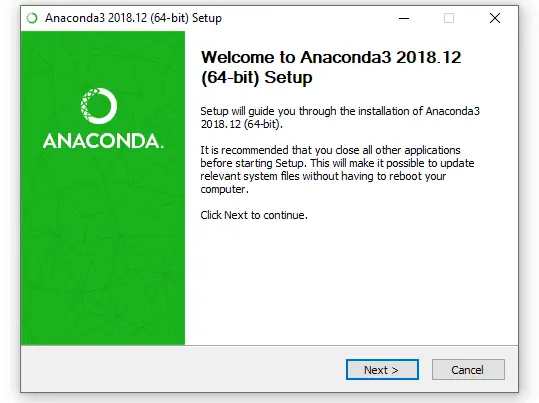
The best software available for doing machine learning with Python is Anaconda. If you have a good high-speed machine with enough space, you can click here and download the Anaconda software and install it on your machine.

Note that while installing Anaconda, it will ask whether you want to “Add to path” or not. Don’t forget to checkmark that box. That will make Anaconda your default Python.
Then, if you type ‘ python ‘ in your terminal or command prompt, it will show the details of Python installed in your machine, and you will see ‘Anaconda’ somewhere there.
Anaconda has all the tools and python libraries inside its stomach. So you can use whatever you want with the help of Anaconda Navigator, which is a GUI (graphical user interface) that makes things easy.
Everything is there for you, and you can install extra libraries and tools with a single click.
What I’m using
Anaconda is the best. But, I’m not using it anymore. At least with my current Windows machine. My current machine is slow enough to make me crazy. It can’t handle Anaconda easily since Anaconda is heavyweight software.
But I don’t want to install all the Python libraries all by myself since it is a complicated process. Then what to do???
My Anaconda Navigator was loading slowly, and even after many minutes, it was not launching.
So I googled about the problem. Then I found that a solution is there. You can use a baby Anaconda, which is known as Miniconda.
What is Miniconda?
Miniconda is a lightweight software that almost does the job like Anaconda. You can install Python libraries easily, and your system will not have any issue with the overload.
Miniconda is similar to Anaconda, it includes Anaconda Prompt, but it does not comprise of Anaconda Navigator.
So, there is no GUI for help. Oh no!!.
But don’t worry. We can set up our tools and environment very easily in a few simple steps.
Setting up ML environment using Miniconda
Let’s see how we can set up our machine learning environment.
Step 1
First things first, install Python if you don’t have it already. Don’t forget to
Step 2
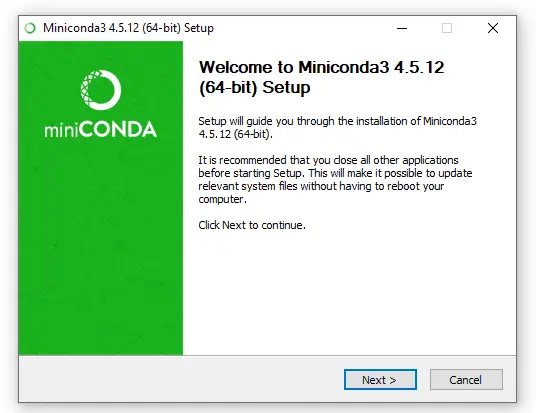
Once you have Python installed in your system, it’s time to install miniconda. You can click here to go to the official conda website and install Miniconda.

Again,
Step 3
Now you have miniconda. It’s time to install a code editor. What I’m using is Jupyter notebook, which is one of the best editors for machine learning.
To install jupyter notebook, you need to open your command prompt or terminal and type in the following command:
conda install jupyter Then, hit Enter. Now Jupyter notebook will be installed on your system.
If it is not working, then close the command prompt and reopen it. Type in the same command and hit Enter.
Whenever you want to open Jupyter notebook, open your command prompt or terminal and type in the following:
jupyter notebook Then, your notebook will be launched.
I had some problems while opening the jupyter notebook with the command prompt at times. If that occurs, then close the command prompt and open the jupyter notebook via Anaconda prompt.
Step 4
Now, we want to install all the required Python libraries. You can download any Python library by using a command like this:
conda install library_nameIn place of library_name, you can type in the name of the library you want. For example, here is how I installed python libraries for doing an image classification project using Keras.
conda install numpyconda install pandasconda install matplotlibconda install seabornconda install scikit-learnconda install pillowconda install tensorflowconda install kerasetc.
I would recommend you to follow this kind of order while installing your libraries.
If you are installing the pillow library, there may be a chance of getting an error. When I installed the pillow, I was not able to use the PIL library in my Python code. It was showing some error message like this : ImportError: No module named PIL.
So, I searched on StackOverflow and found a solution for that.
If you are having any trouble with using the PIL library, just do this. Open your command prompt and type in the following commands one after the other.
pip uninstall PILpip install PILThat’s it. Now you have all the tools needed for starting your machine learning or deep learning project.
While you are doing the project, if you need any additional packages or libraries, just go to your command prompt and type in the command conda install library_name, and you’ll be able to install it within a few minutes.
Creating a separate environment
If you want to create a separate machine learning environment for your coding purposes, you can create one using the following command in your command prompt or anaconda prompt.
conda create --name myenvIf you want to create a machine learning environment with more specific features, then you can refer to this conda documentation.
Now, if you wish, you can install all the libraries inside this separate machine learning environment after activating it.
Activating the environment
To activate your machine learning environment, type in the following command in your command prompt.
activate myenvThat’s it. You are ready with all the weapons to do your first machine learning project. Now, go and code it out!
If you are a beginner at machine learning, then this article will be helpful.
Conclusion
If you have a good-performing system, go and install Anaconda software and use it for coding. If you have a slow system, don’t install Anaconda. That will make your system even slower. Rather, install Miniconda which is a baby version of Anaconda.
It is difficult to manage all the libraries without any of these condas. So, it will be effective if you use any of these.
If you have a system with high performance, install Anaconda software, and use it for coding. If you have a slow system, don’t install Anaconda. Rather, install Miniconda, which is a baby version of Anaconda.
It can be pretty difficult to manage all the libraries without any of these condas. So, it is better if you use any of these.
I hope this article was helpful. If you have any doubts, let me know in the comments section.


its nice. Useful
Cheers!